You’ve taken the printer out of its box, removed all the adhesive, and don’t forget to remove the tape holding the cartridges. You’ve also installed the color cartridge labeled C and the black cartridge labeled B. Now let’s plug in the power cord and check our settings.
First, if you don’t know your wireless modem’s password, find it first. Now let’s configure the settings on the MX 410.
Press the printer’s power button to turn it on. After you run a few tests, it will be ready for settings.
Wireless settings:
- First, let’s change the language to Turkish. Press the Menu button. Press the Menu button a few more times until you see “Device settings“.
- Press the right arrow button until you see “Device user settings“. Now press OK.
- Now press the right arrow button again until you see “Language selection“. Once you find it, press OK.
- Now press the right arrow button until you see “Turkish” on the screen. Press OK when Turkish appears. Your screen should be in Turkish.
- Now press the return button to the left of the left arrow button. This returns us to the previous menu.
- Press the left arrow button and find “LAN settings” and press the OK button.
- Now the screen should show “WLAN enabled/disabled“. Press the OK button.
- The screen should say “Wireless LAN disabled“. Press the left arrow button and see “Wireless LAN enabled” and press the OK button.
- Now the screen will say “Setting up” and then “Wireless LAN setup“. Press the OK button again.
- You should see “Easy settings” on the screen. Now press the OK button again.
- The screen should now say “Searching for access point” and after a few seconds, you should see the name of your wireless modem. You can select the wireless device you want to connect to using the right or left arrow buttons. Now, press the OK button twice to move on to the next step.
- The screen should say “Enter password“. Now, enter your wireless modem’s password.
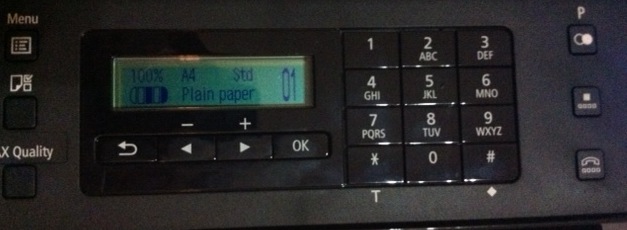
- You will enter the password using the keypad. After each character you type, you can press the right arrow button to enter the next character. The upper-right corner of the screen will show the keypad’s function. You should see “:1” in the upper-right corner. By pressing the * key, you can change whether the keypad will display numbers or letters. When you press the * key once, the “:1” in the upper-right corner of the screen will change to “:A“. Now, when you press the keypad, it will display uppercase letters. If you press * again, you’ll see “:a” in the upper right corner. This will now change the keypad to lowercase letters. If your password contains symbols, use the # key to enter symbols like ! and ?. As you press #, you’ll see the symbols appear on the screen. If you make a mistake, you can delete the character by pressing the right and left arrow buttons, then use the left return button next to the left arrow button to delete it. After entering your password correctly, press OK.
- The screen will display “Connecting…“. If the connection is established, it will display “Connected.. Press OK“. Press OK to complete the setup.
- The printer’s wireless setup is now complete. After this, you need to configure your computer.
Printing from iPhones and Android phones with Canon printers
Printing and scanning from Android phones with the Canon Pixma MX410
Printing and scanning from your Canon Pixma MX410 printer with your iPhone
Setting up your Canon Pixma MX410 printer in Mac OS X 10.7 Lion
Setting up your Canon Pixma MX410 printer wirelessly


Leave a Comment