Magdalena Yeşil, teknoloji dünyasının en etkili ve ilham veren figürlerinden biridir. Türkiye doğumlu bu vizyoner lider, Silikon Vadisi’nde …
Daha Fazlasını Oku
Biyografi
Magdalena Yeşil, teknoloji dünyasının en etkili ve ilham veren figürlerinden biridir. Türkiye doğumlu bu vizyoner lider, Silikon Vadisi’nde …
Daha Fazlasını OkuTürkiye’de yasal zemini bulunmayan yurt dışı merkezli bahis siteleri (yasadışı/kaçak bahis), hem hukuki riskler hem de ciddi finansal …
Daha Fazlasını OkuAnadolu Vakfı, Türkiye’nin önde gelen sosyal sorumluluk kurumlarından biri olmasına rağmen, özellikle burs başvurularının yoğunlaştığı …
Daha Fazlasını OkuI. Giriş: Neslihan Canpolat Kimdir? Neslihan Canpolat, Türkiye iş ve girişimcilik ekosisteminde özellikle teknoloji, dijital pazarlama ve …
Daha Fazlasını OkuModa Cruz, Türkiye’de 2010’lu yılların ortalarında hızla yükselen ve ikinci el moda (pre-loved) kavramını ana akım tüketicilerle …
Daha Fazlasını Oku Futbol
9 Aralık 2025 Maçı Organizasyon Detayları Stade Louis II’deyiz biliyorsunuz orası harika bir yer ama kapasitesi çok ufak bu da bilet bulmayı zaten …
Daha Fazlasını Oku Türkiye şehirleri
Karadeniz’in yemyeşil yaylaları, derin vadileri ve heybetli dağları arasında gizlenmiş olan Artvin, Türkiye’nin en özgün şehirlerinden …
Daha Fazlasını Oku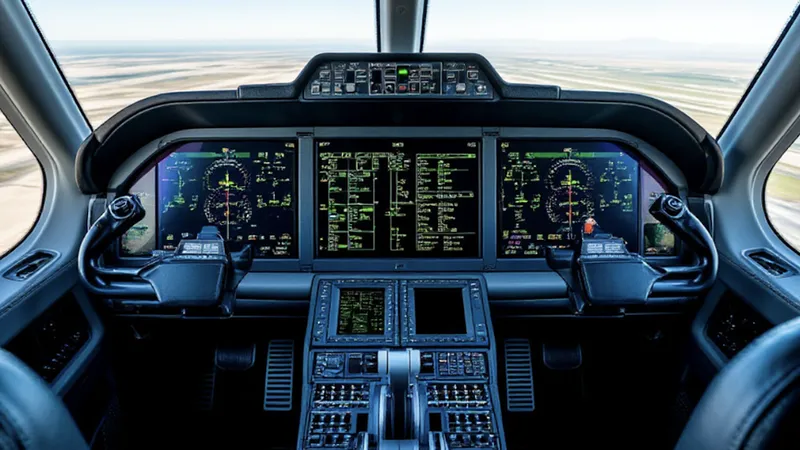 Analiz
Türk Hava Yolları (THY) İletişim Başkanı Yahya Üstün konuyla ilgili bir açıklama yapmıştır. Açıklamada, Airbus tarafından tüm dünyadaki A320 tipi …
Daha Fazlasını Oku Analiz
Pegasus Hava Yolları uçuş iptalleri ve sefer aksaklıklarının temel nedeni, bir arıza değil, dünya genelindeki Airbus A320 ailesi uçaklarını kapsayan …
Daha Fazlasını Oku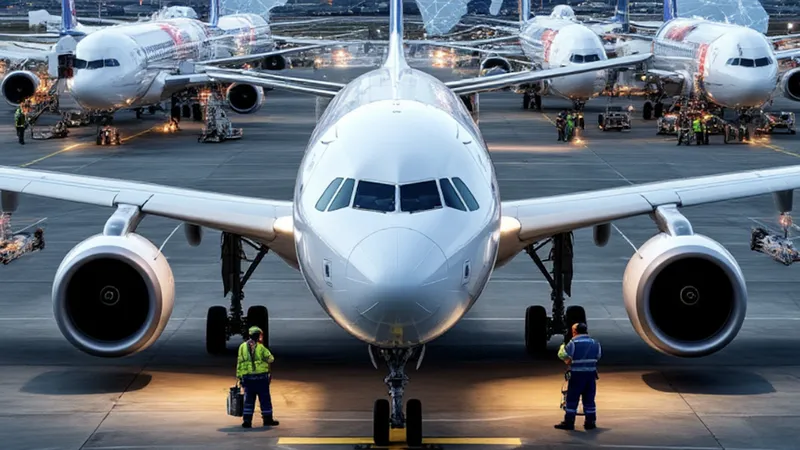 Analiz
İlgili Airbus duyurusu, “Operatör Uyarı Bildirimi” (Alert Operators Transmission - AOT) formatında yayımlanan ve Avrupa Havacılık Emniyeti …
Daha Fazlasını Oku